Hardware profiles in LS Central: printers, cash drawers, and the devices on the counter
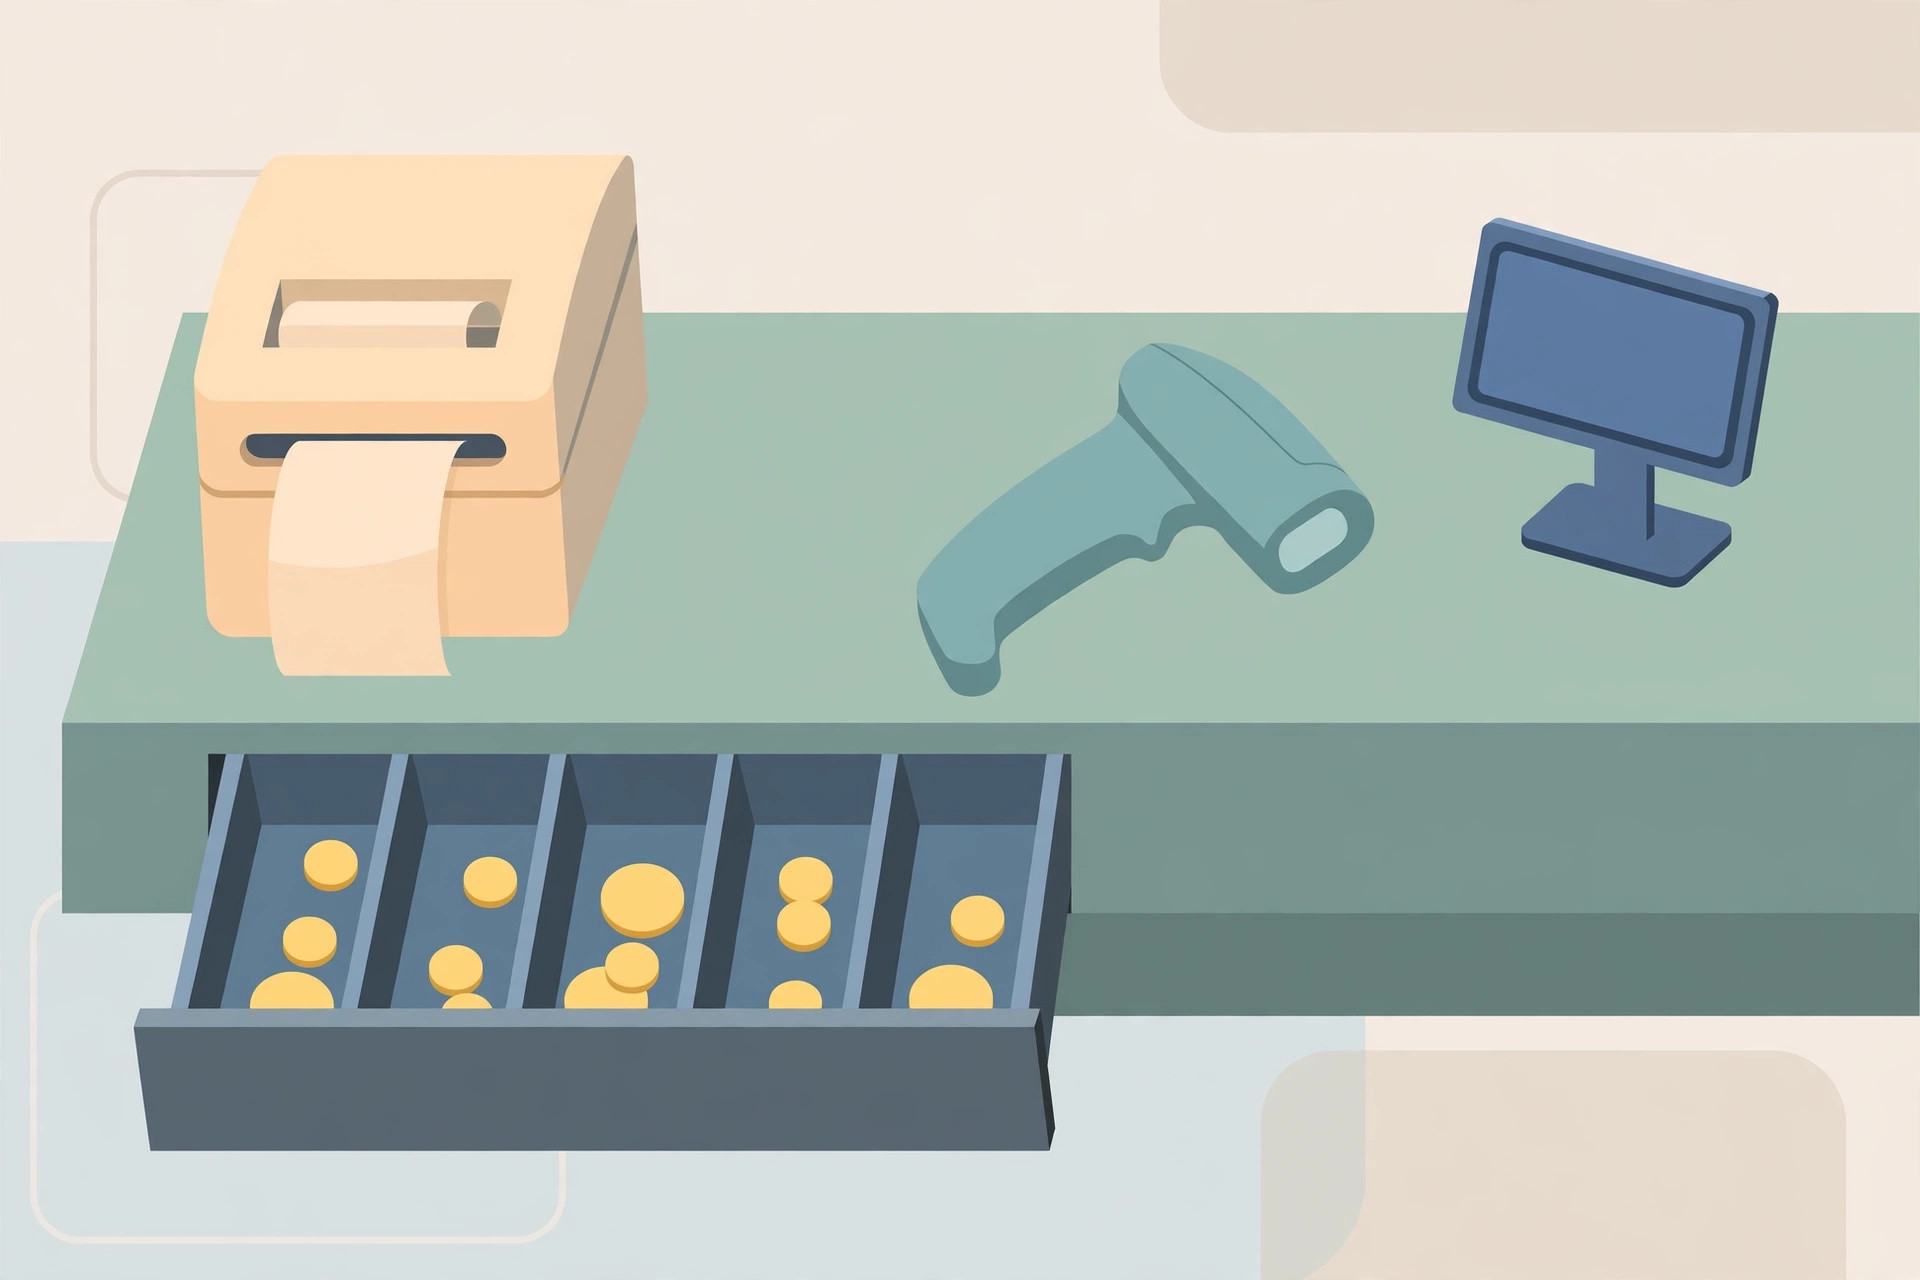
A hardware profile is where LS Central stops being software configuration and meets the physical counter: the receipt printer, the cash drawer under it, the scanner, the customer display, and the payment terminal. Get the profile right and a new till is a copy-paste exercise. Get it wrong and every symptom looks like broken hardware. This guide builds a hardware profile end to end — device first, profile second, assignment third — and finishes by proving every device before the store opens.
What a hardware profile is — and what it is not
In the Hardware Profile the setup for the POS hardware is set up; it includes settings for which hardware is in use and how it is set up. The profile is a named bundle of device settings that can be assigned to stores and terminals, so fifty identical counters share one definition instead of fifty hand-built ones. It is not the device driver layer: for Web POS, devices are served by the LS Hardware Station, a separate service the profile syncs to. And it is not the receipt content: the profile's printer settings decide how printing happens, while the WinPrinter setup carries the font and layout behaviour described below.
The device classes the Hardware Station can serve have grown across versions. One help version lists the supported devices for the Web POS path as cash drawer, scanner, line display, printer, and EFT, and notes that only the LS Central Web POS client supports the LS Hardware Station, with LS Central and Toolbox installed first. A later implementation guide lists the Hardware Station device set more widely: Authentication Device, Dallas Key, Cash Drawer, EFT, Line Display, MSR, Printer, Scale, Scanner, and Serial Device. That difference is exactly why the verification step at the end of this guide matters: check the device list against the version actually installed, not against a screenshot from another release.
The device chain: Hardware Station, profile, terminal
Three layers have to agree. At the bottom, the LS Hardware Station runs on the machine hosting the devices; it is installed through the LS Central Client Components installer by selecting the LS Hardware Station check box, and the service must be started manually after installation. In the middle, the Hardware Station Management Portal is where devices are loaded and configured: browse to localhost:8088 by default, noting that the Management Portal port defaults to 8088 while the default port for the Hardware Station service is 8082. At the top, the hardware profile in LS Central syncs to that station and is picked up by terminals through the normal profile resolution: Staff Store Links and Staff do not carry hardware profiles, so resolution runs Terminal card, then Store card, then ##DEFAULT.
Procedure: set up a counter from scratch
- Install and start the Hardware Station on the POS machine via the Client Components installer, then start the service manually.
- Load the OPOS devices in the Management Portal. No installed OPOS devices are loaded when the Hardware Station is first started. Click Load All Devices to load everything installed, or use the Load button under a specific device type to load selectively. After a device has been loaded, it stays loaded when the Hardware Station restarts, unless it is deleted with the Delete Device button or the Ignore Device flag is set. New devices cannot be installed through the Management Portal — the station discovers devices that are already installed and lets you configure them.
- Add any Windows printer in the portal with the Create Printer button at the bottom of the printer list, selecting the printer from the list of available Windows printers.
- Create or select the hardware profile in LS Central from the Hardware Profiles page (POS Hardware Profile).
- Sync the profile to the station: on the LS Hardware Station FastTab, select the Sync with LS Hardware Station check box and insert the correct URL in the Hardware Station Host field. The LS Management Portal field then holds a quick-access link that updates automatically when the host is inserted. If no port is specified at the end of the host name or in the Hardware Station Port field, the default port 8082 is used, and the Management Portal link defaults to port 8088.
- Click Detect Hardware. All available devices that have been loaded in the Management Portal are added to the hardware profile, each appearing in its relevant FastTab at the bottom of the page. The system asks before overwriting a device that already exists in the profile.
- Resist manual FastTab edits as a substitute. Device FastTabs can be edited manually, but adding devices manually does not guarantee that they are loaded into the Hardware Station. A profile line pointing at a device the station never loaded is a device that fails at the first sale.
- Assign the profile on the store card for a standard counter, or on the terminal card for the exception terminal, per the decision framework below.
- Start the Web POS and look for the success banner. When the previous steps went as expected, a banner is displayed when the Web POS is run, indicating that the connection was successful. If the connection was unsuccessful, make sure the port used by the Hardware Station (8082 by default) is open on the Hardware Station's firewall.
What success looks like: the Web POS shows the connected banner, a test sale prints a receipt, the drawer opens on the cash tender, the scanner reads a barcode into the sale, and the line display shows the running total. The full device-by-device proof is in the verification section below.
Printers in depth: OPOS and WinPrinter records
The printer type and device name are selected in the Printer FastTab on the Hardware Profile Card. For Windows printing, the LS Central WinPrinter prints to a Windows printer without using a Report: the print data (print buffer) is sent to the POS Control (add-in), which prints directly to the printer using the Windows API. That makes printing happen on the POS client side, and it also lets printing from Web Service functions — from mobile devices, for example — execute without any user interface interaction.
Spec verification for a WinPrinter record, straight from the documented fields: the font description format is [NAME];[SIZE];[STYLE], where NAME is any Windows font such as Arial or Calibri, SIZE is the size in points, and STYLE is a standard style such as Normal, Bold, Italic, Strikeout, or Underline. All measurement fields — margins, width, height, and spacing — are in millimeters, not inches; a layout that looks a factor of 25 out was almost certainly typed in inches. For receipt barcodes, the tested symbologies are Code128 and Code39, and Code128/Code128_A is the recommended symbology because it takes up less space (width) on the printed bitmap; bitmap and printer resolution affect whether the printed barcode stays readable by scanners.
To configure a WinPrinter as the main POS printer: open the Printers page and create a new Printer named WINPR_1 with the WinPrinter type, then select the Windows printer in the Printer Device Name field — a part of the printer name can be used and the best match will be used. Then make two changes on the Hardware Profile in use: select the "POS Printer" type in the Printer field, which tells the POS that the printers to use are defined in the POS Printer table and linked to the Hardware Profile in its POS Printers section; and add a line in the POS Printers FastTab with the Job and Sub-Job fields left empty and WINPR_1 selected in the ID field, which links it for all print jobs. Specific jobs can then be split to other printers by adding lines with Job values filled in.
Decision framework: how many hardware profiles do you need
The documented two-printer example is the cleanest decision rule available. A company with two printer types defines two Hardware Profiles: profile ##DEFAULT for Printer A and profile SKY for Printer B. With five stores of ten terminals each and only five terminals on Printer B, the Hardware Profile field stays empty on all stores and on all Printer A terminals, and SKY is entered only on the five Printer B terminals — five filled fields instead of fifty. An empty Hardware Profile value on both Store and Terminal automatically makes the ##DEFAULT profile the active profile.
The same example shows the store-level move: when one store, S0004, later replaces all its printers with a new type, create Hardware Profile XYZ, enter XYZ on the S0004 store card, and clear the Hardware Profile value on its terminals. Nothing more needs to be done — the store value becomes active for the terminals because their own value is empty. Generalised: create a new profile when a device type differs, assign it at the highest level that covers every terminal sharing that type, and leave every other field blank. One profile per terminal is a smell; it means device differences are being recorded where they cannot be maintained.
For testing without physical devices, virtual devices exist: the demo data carries a hardware profile named #HARDWSTAT for the virtual station, with Printer VIRTUAL_P1, Drawer VIRTUAL_CD, Line Display VIRTUAL_LD1, and Scanner VIRTUAL_SC1. A virtual profile is a safe way to prove the profile-and-assignment mechanics before the real counter hardware arrives.
Verification: prove every device before opening
- Receipt printer: run a test sale and confirm the receipt prints with readable text and a scannable barcode; scan the printed barcode with the counter scanner to close the loop.
- Cash drawer: complete a cash sale and confirm the drawer opens; then run a no-sale drawer action if the store uses one, and confirm it behaves as configured.
- Scanner: scan a known item barcode and confirm the correct item and price land on the sale.
- Line display: confirm the customer-facing display shows item and total information during the test sale.
- EFT: run a small card test transaction through the payment terminal and confirm the approval returns to the POS, then void it per the store's test procedure.
- Restart test: restart the Hardware Station service and the POS, and repeat the print test. Devices loaded in the portal should still be loaded after restart; a device that vanishes was never properly loaded, not a profile problem.
What success looks like: all five device checks pass on the same terminal, in one session, after a restart. If one device fails, fix it in the layer where it lives — portal loading for missing devices, profile FastTabs for wrong assignments, firewall for a station the POS cannot reach on port 8082 — instead of rebuilding the whole profile. For the wider opening sequence this verification sits inside, see the new store setup checklist.
FAQ
A device is in the profile but the POS cannot use it. Why? The profile line alone does not load the device. Manually added devices are not guaranteed to be loaded into the Hardware Station; load the device in the Management Portal, then use Detect Hardware.
Every terminal in one store needs a different profile. The other stores do not. Where does the value go? On that store's card — the S0004 pattern. Clear the terminal values in that store so the store value becomes active for all of them.
The Web POS shows no connected banner. First check? The Hardware Station port: 8082 by default must be open on the Hardware Station machine's firewall, and the host and port on the profile's LS Hardware Station FastTab must match the station.
Disclaimer: ports, field names, and supported-device lists reflect the LS Central help versions cited for this guide and differ between versions. Verify against the help for your installed version before changing production hardware profiles.
IndexBack to all guides →